
Hey Guys,
Hope you all are staying safe !!
I would like to blog down my learnings to integrate Jira in Lambda Test Platform as a step by step process.
Come on! Let’s dive into this blog!
Jira Integration in Lambda test platform will help us in creating issues from LambdaTest platform itself with the simple integration technique. How much relief would it be for testers like us. Isn’t it?
Jira Integration with Lambda Test Platform
- Step 1: Login into the Lambda account.
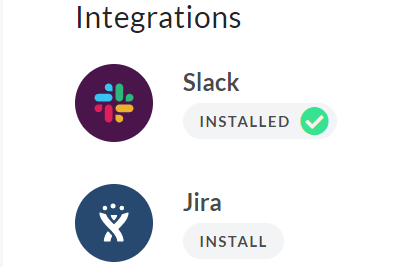
- Step 2: Select Integration field to see the list of all third party integrations.
- Step 3: Select Jira and Click on Install.
- Step 4: Once we click on install, it will be redirected to the below screen where we need to provide the following details.

From the above screenshot, Jira URL will be the Domain of your workspace. Login to the Jira dashboard and copy the URL of your account.
As an example, I am using my domain which is shown below https://acmesoftware.atlassian.net/jira/your-workplace .
Jira Email : Here we need to provide our email address using which we signed in for JIRA.
API Token : API token is needed for authenticating user identity from one server to another. It’s nothing but processing of 2-step verification by using this token. As we all are concerned about security 🙂
We can make use of this link to create an API token from here we need to create an API token and make a copy of it.

Once the API Token is generated, we need to go back to above step where we need to provide our Jira host details as listed below.

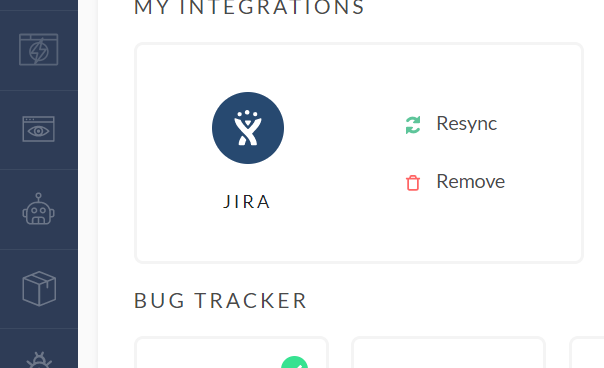
Click Install to start with the installation. If the Installation is successful, we will be receiving an email notification that Jira integrated successfully.Now, go to Integrations from the Lambda Dashboard to see the Integrated Jira
That’s all about Jira Integration with the Lambda Test Platform. It’s really easy to implement right.
Lets now go to the primary concept of logging bugs after all that is the vital part for Quality Analyst 🙂
How to Log Bugs through the Jira Integration ?
Here, I am going to list down how to post our bugs through the Jira Integration In Lambda Test tool.
In the Left side menu we have diff kind of tests that we can perform by using Lambda Tool, For now I just wanna go through the Real Time Testing To report bugs directly into Jira.
- Step 1: Select Real Time Testing and provide the URL of your application and then select any configuration for browser and operating system of your choice (based on your project requirement) & click on ‘Start‘.

- Step 2: Once the application is launched, we can start with our testing to find the bugs .If bugs are revealed we need to click on the Bug Icon as below.
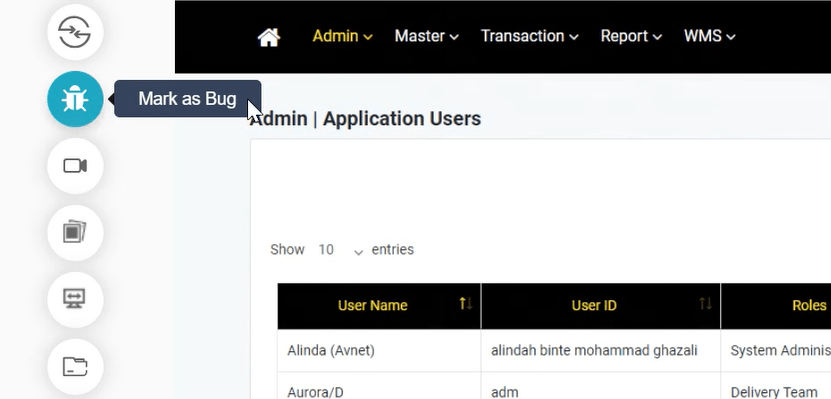
- Step 3: Once we click on Bug Icon it will capture the screenshot of the bug and we need to click on Mark as a Bug as shown below

- Step 4: Once we Mark as a bug it will Open Jira Terminal to post the issue based on our requirement for the project and then choose Project and create an issue.
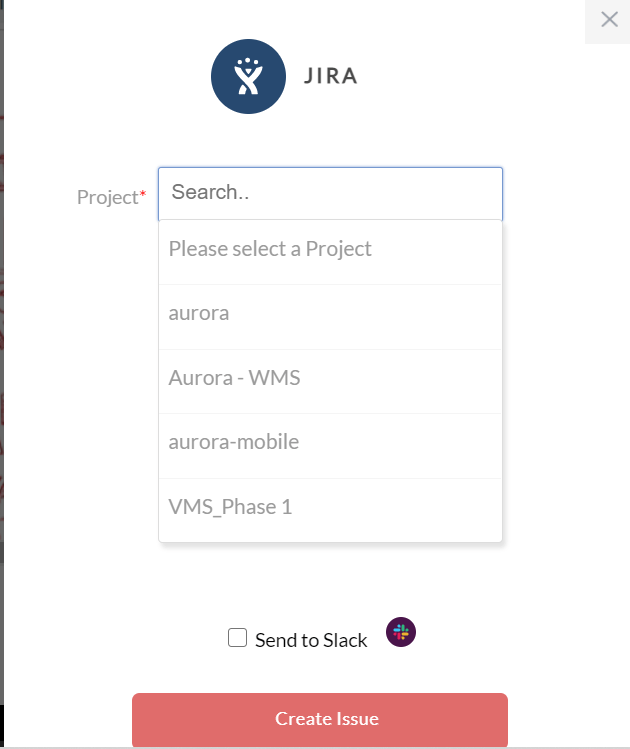
- We can select which project should the ticket go under, along with the Issue type.
- We can set the priority of the bug.
- We can assign the bug to a respective person by populating the field ‘Assignee‘.
- We also post a description to help relate the cause of the issue or the task.
- Step 5: To see whether the issue or ticket is created we need to go to Our jira board for the project we selected .
That’s all about logging the bugs through the Integration of Jira. This makes our life easier.
What if you want to uninstall the Jira integration?
Here you go!!
- Login to Your Lambda account
- Select Integrations from the Left Menu bar and click on remove for the Jira Integration

That’s how I have done Lambda Integration with JIRA for my project and I find it very useful. Hope you will find this blog useful and Happy Testing!
Thanks for your time to give it a read.
Happy Testing!!