
Reliable API calls are critical to any decoupled application. Whether it is a simple configuration change to an entity or updating the Drupal Core, both of them can alter the API response and lead to application-breaking changes on the front end. An API test suite can watch out for these API-breaking changes by running a slew of tests against your endpoint. And when you need to create an API test suite, Postman delivers.
Why Postman tool?
Postman is an API development tool that helps to build, test, and modify APIs. It has the ability to make various types of HTTP requests (GET, POST, PUT, PATCH), save environments for later use, converting the API to code for various languages (like JavaScript, and Python).
How to download & Install the Postman ..!?
A postman is an open-source tool that can easily be downloaded from google chrome.
Step 1: Download the Postman app by using this link
The above link will prompt you to the postman UI as shown below screenshot.
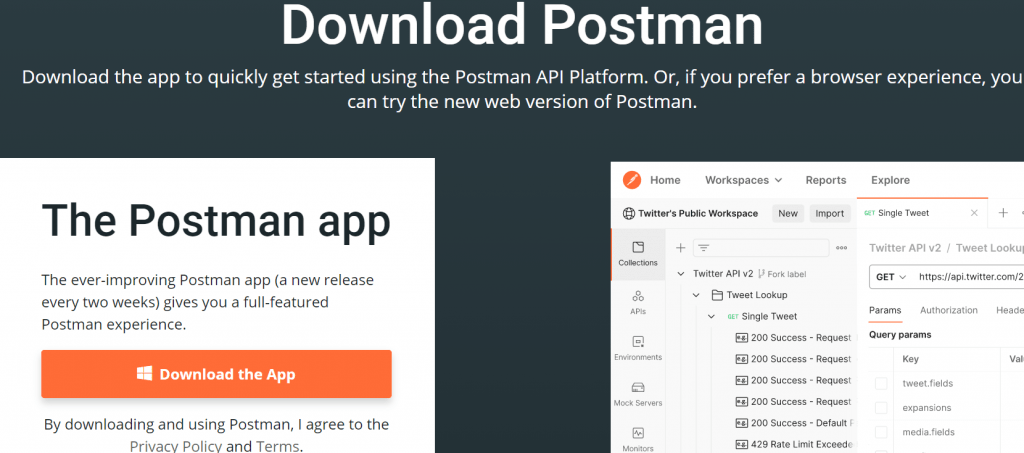
It will allow you to download, Once we click on the Download the App button and it will get started.
Step 2: Once the postman is downloaded, Open and click on run to install the application.
Step 3: Once done with the installation, it will prompt a user to create an account as shown below.

Step 4: Create a new account to Sign-up.
Step 5: Once done with the Sign-up, select the workspace based on your need. And the window will be shown below.
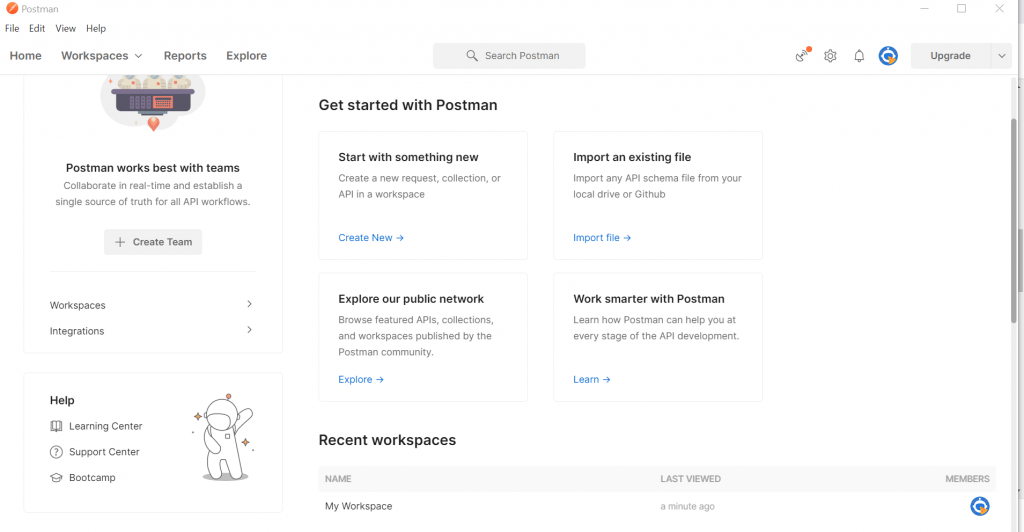
Step 6: Then create a workspace to start with the Calling of Api for execution.
How to Use Postman to Execute API..!?
To start with the Execution of Postman API,
STEP 1:
- Go to the file and click on new
- Once we click on new, it will prompt a window with the following list of items as shown below.
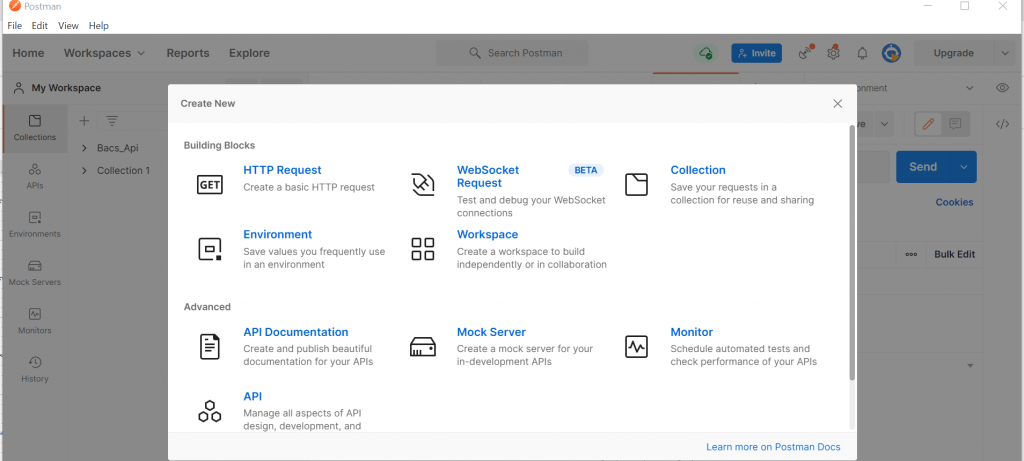
STEP 2:
- Click on HTTP Request to start with the basic creation.
- Once done with clicking on the HTTP request tab, it will prompt you to the below page.
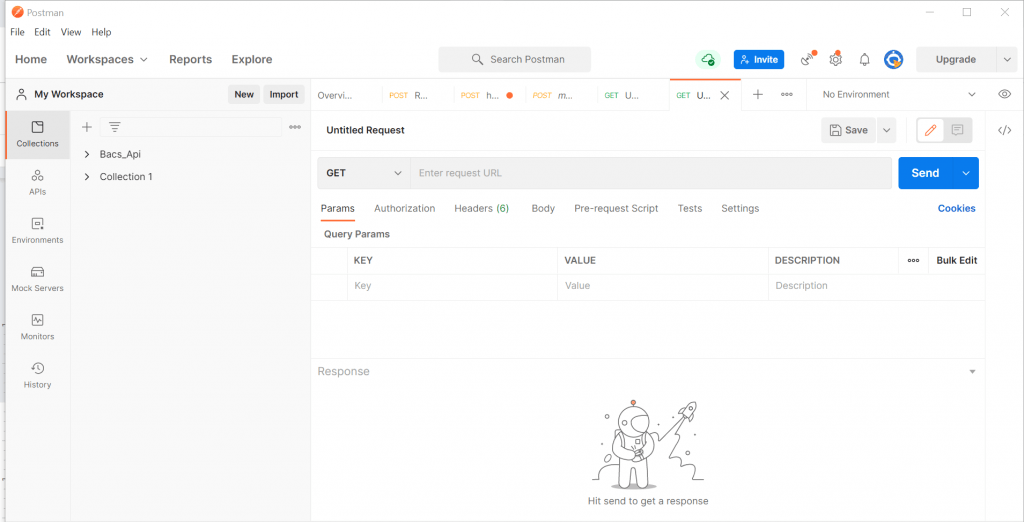
The above page will allow us to create a new request, collection, or Environment.
Here, each field will be having one functionality and will explain some regular fields which we use for the regular execution of APIs
- New: It will allow us to create a new request, collection & environment.
- Workspace: It will allow us to create Individual workspaces or as a team.
- Invite: Help us to invite our team members to collaborate with our workspace.
- Collection: It will allow us to organize our Test suite by creating a collection. Where we would be storing our created Test suites
- HTTP Request – Clicking this would display a dropdown list of different requests such as GET, POST, COPY, DELETE, etc. In Postman API testing, the most commonly used requests are GET and POST.
- Request Url: This is known as an endpoint and is where we would be calling our API to communicate.
- Save: It will allow us to save the information
- Params: where you will be allowed to write parameters needed for a request such as key values.
- Authorization: To access APIs, proper authorization is needed. It may be in the form of a username and password etc.,
- Body: The Body tab in Postman allows you to specify the data you need to send with a request. You can send various different types of body data to suit your API. … If you use raw mode for your body data, Postman will set a header based on the type you select (e.g. text, JSON).
- Tests: These are scripts executed during the request. As it sets up checkpoints to verify if the response status is ok, retrieved data is as expected
How to work with GET Requests..!?
GET requests are used to retrieve the information from the given URL.
In the workspace, we need to set our HTTP request as a GET and In the input field, we should input the URL of the link we want to pass and click on the send button as shown below.
The response must be 200 OK. It means that the request has been processed successfully.
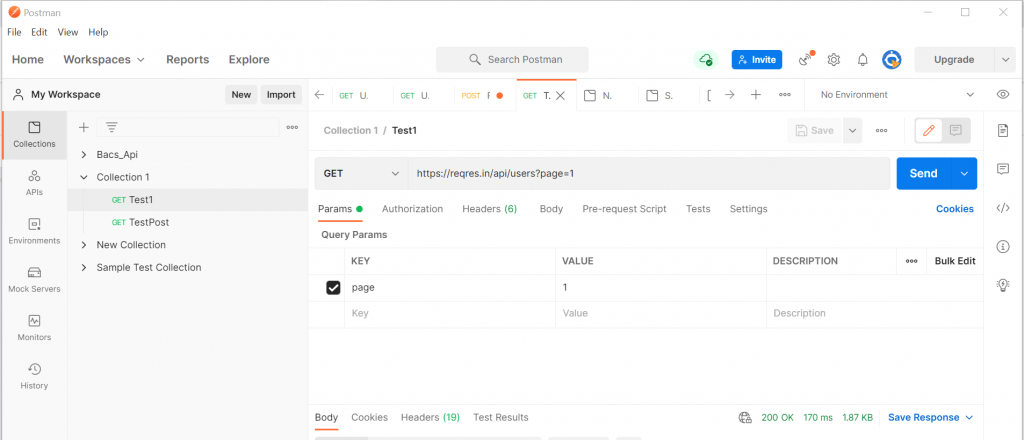
Note: Sometimes, GET postman requests may be unsuccessful, because of the Invalid request URL or due to authentication.
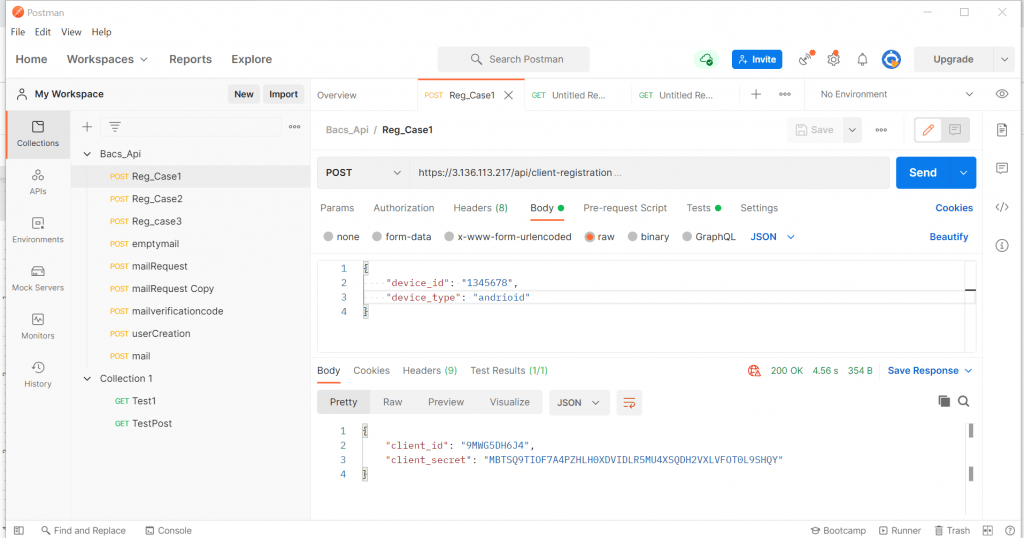
How to work with POST requests..!?
POST: POST is an HTTP request method like GET. We use this method to send extra information to the server inside the body of the request. The changes will occur in the server when we do submit the POST request.
Here, you go for the submission of a POST request.
1. Create a new request
2. Set request to POST
3. Input the requested link into the input field
4. Click on Body Tab -> Click on raw & select JSON
5. Take the user result from the previous GET request and paste it into the body for the POST request
6. Click on Beautify to align the pasted data.
7. Click on the Send button to see the results as shown below and the result must be 200 OK (which indicates the status of the Test case)
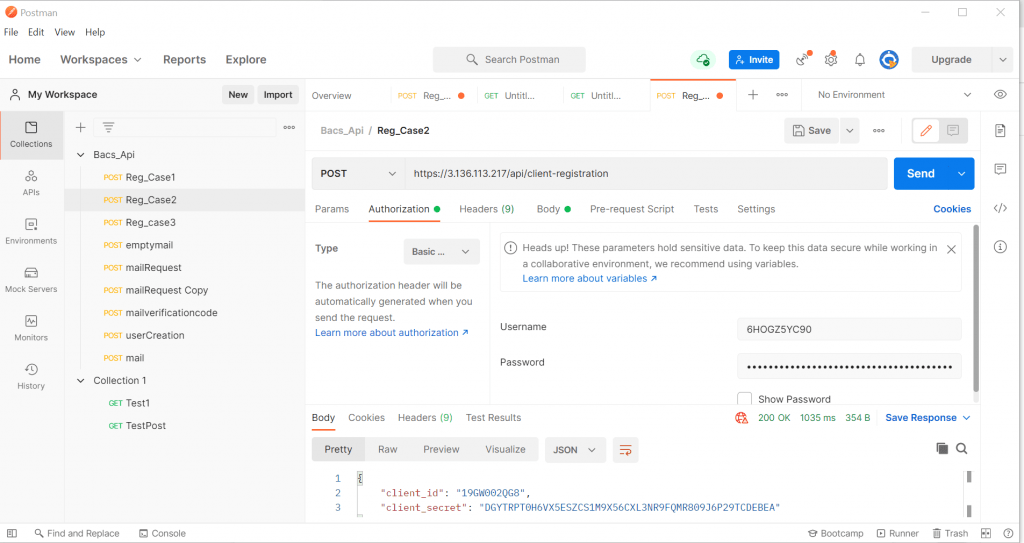
Note: In POST requests, based on need we need to set the Authorization.
Here, you go for the steps for setting the authorization
- Click on Authorization
- Select Type based on your need, here I am selecting it as a Basic Auth to pass the user ID & Password, which I got from the previous request upon passing the POST request as shown below…
This is how I learned about POST requests.
Here, will share a bit of info about the DELETE request :
An HTTP DELETE method is used to delete an existing resource from a collection of resources. The DELETE method requests the origin server to delete the resource identified by the Request-URI. Successfully deleting resources returns 200 (OK) and 204 (No Content) status codes.
How to Create Collections in Postman?
1 . Collection will help us to Organize our test suites
2. It can be Imported & Exported
3. These Can be shared with the team by clicking on the share button
4. All our test suites can be run at the same time.
To create a new collection, click on the “+” plus symbol from the collection folder, name it as per your requirement, and then click on the Save button. Once done with creation, it looks as below.
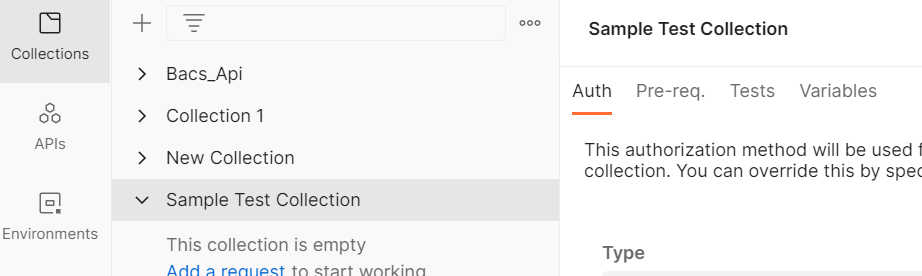
- Click on add request to start working with the requests.
- Click on the View more field, to view all the available actions as shown below
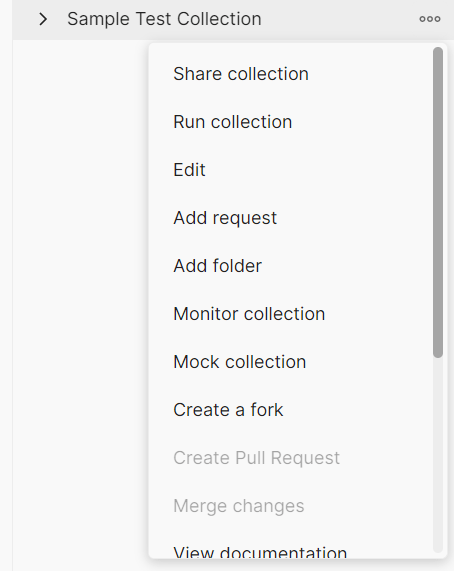
As I said above, once we click on the run collection, it will execute all the test suites simultaneously, as shown below.

This is all a bit of info about testing an API using Postman.
Happy Testing!!
very helpful.thank you.