
I have been trying to implement a login screen which is attractive and which has a standard and classiness in one of the React native projects i have been working , and i was able to implement that using some of the available plugins which are available in the community.
Steps to create a fancy login screen.
1. Create a New react-native project
2. Install React native video component.
3. Insert Text Boxes , icons , button into the screen .
1. Create a new react-native project
To create a react native project , you need to add the following command from the terminal.(you need to install react native package globally using nam for that please follow the steps mentioned in this link)
[source language=”bash”]
$react-native init fancyLogin
[/source]
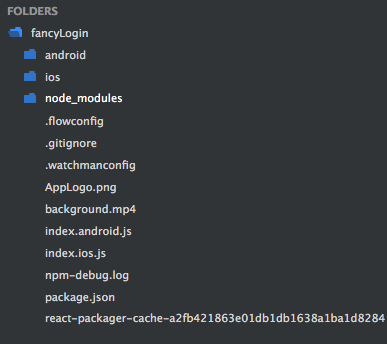
After pressing enter react-native will create a project under the name fancyLogin in your current path whose folder structure will look like this :
Now open another tab in the terminal and navigate to current path and type.
[source language=”bash”]
$sudo npm run start
[/source]
this will start your node server which your app will listen to.
Then in the First terminal type.
[source language=”bash”]
$open ios/fancyLogin.xcodeproj
[/source]
to open your Xcode project which is given default by react native.
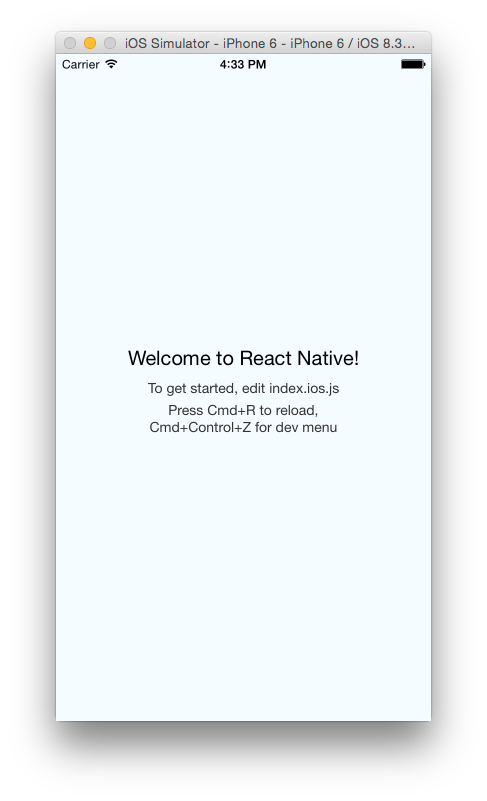
Hit run from the Xcode and run your application which will show a default screen like this:
Now we are all set to run the react project.
2. Install React native video component.
There is many react native video components available in github , i have particularly chose this repo ,ok to get started first type the comment.
[source language=”bash”]
$sudo npm install react-native-video
[/source]
this will install the video component inside the node_modules folder inside your app .
Now we have to add the Xcode file in the module to our project to do that
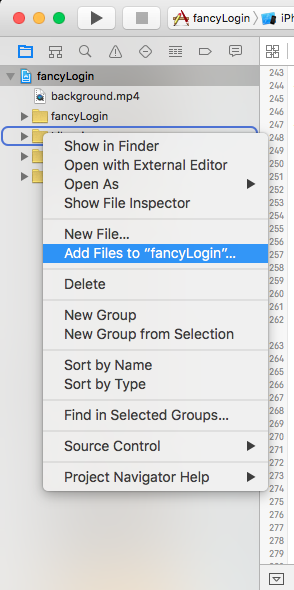
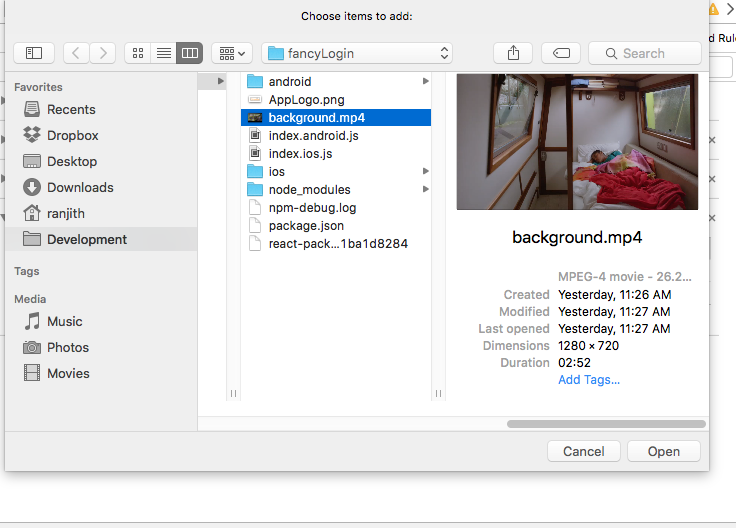
open xcode , from the side bar right click on libraries and select “Add files to the fancyLogin” like this:
and select the RCTVide.xcodeproj from the react-native-video inside the node_modules folder.
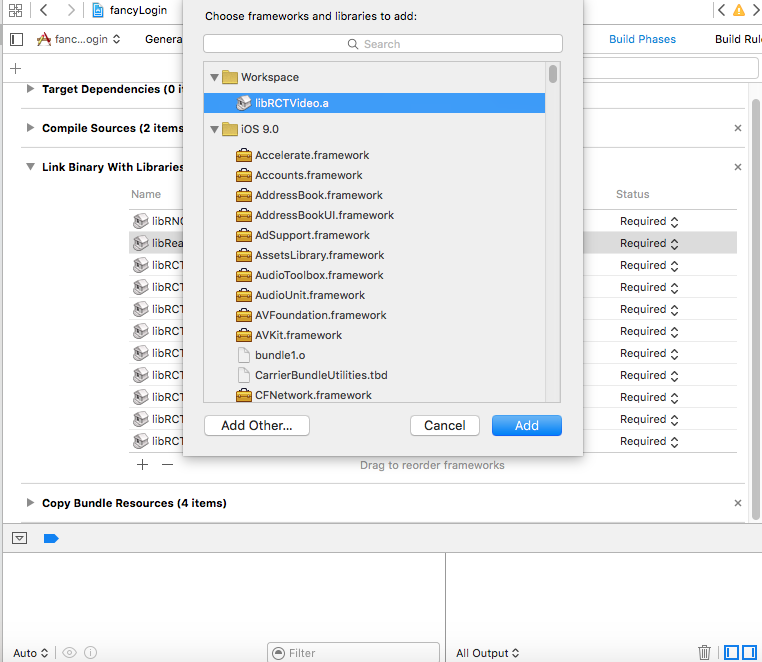
Now go to Build Phases => Link Binary Libraries => click the + symbol and add libRCTVideo.a file like this:
Now you can require the video component by typing the code:
[source language=”js”]
var Video = Require(“react-native-video”)
[/source]
anywhere from your project.
Now thats done, lets see how to implement the video playing inside your app .
For that first open your index.ios.js from the project folder,and re-write the code like this:
first add the video module to your project by typing the code:
[source language=”js”]
var Video = Require(“react-native-video”)
[/source]
Then in the main render function type :
[source language=”js”]
[/source]
where background is your mp4 video file .
and style like this
[source language=”js”]
var styles = StyleSheet.create({
container: {
flex: 1,
alignItems: ‘center’,
backgroundColor: ‘#F5FCFF’,
},
backgroundVideo: {
position: ‘absolute’,
top: 0,
left: 0,
bottom: 0,
right: 0,
},
)}
[/source]
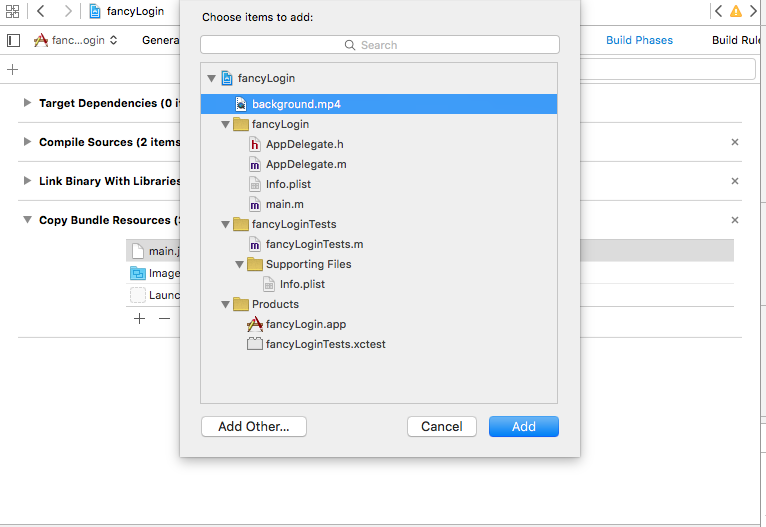
Now in order to play the video you need to add the background video file into your Xcode => copy Bundle Resources something like this :
after that hit run and you will see the video playing in your simulator.
3. Insert Text Boxes , icons , button into the screen .
Now our major part of the project is over. In order to send our video to background and insert our icon and text boxes we have to do a couple of things we can do that one by one.
1.Insert icon to the top of the screen
To insert the icon we have to first add the icon we are going to use in the Images.xcassets in the Xcode.
Then in the code add the following to the render function :
[source language=”js”]
[/source]
in style add
[source language=”js”]
imageWrapper:{
alignItems:”center”,
width:PixelRatio.getPixelSizeForLayoutSize(200),
backgroundColor: ‘rgba(0,0,0,0.4)’,
},
logo:{
width:201,
height:75,
marginTop:40,
marginBottom:20,
tintColor:”orange”,
backgroundColor: ‘rgba(0,0,0,0)’,
opacity:1
},
[/source]
done that , you have the video playing in the background with the logo in front of it
now to add the text boxes add :
[source language=”js”]
[/source]
and in the styles add:
[source language=”js”]
loginWrapper:{
flex:1,
alignItems:”center”,
justifyContent:”center”,
marginTop:PixelRatio.getPixelSizeForLayoutSize(),
width:PixelRatio.getPixelSizeForLayoutSize(200),
backgroundColor: ‘rgba(0,0,0,0.4)’,
height:80,
alignItems:”center”
},
login:{
marginTop:150,
width:PixelRatio.getPixelSizeForLayoutSize(130),
backgroundColor: ‘rgba(0,0,0,0.2)’,
height:80,
alignItems:”center”
},
textBox:{
height: 40,
left:5,
color:”orange”
},
signInButtonContainer:{
width:PixelRatio.getPixelSizeForLayoutSize(150),
backgroundColor:”orange”,
alignItems:’center’,
justifyContent:’center’,
marginTop:30,
height:60
},
[/source]
Thats it , you have now added the text box and image in-front of your background video , I have also added some additional forgot password and the signup text which you can find in the example code in this repo
Final output
please follow this link to see the output
