

Computer vision technology of today is powered by deep learning convolutional neural networks. To detect objects, we can use many different algorithms like R-CNN, Faster RCNN, SSD, YOLO, etc. Here, I have chosen tiny-yoloV3 over others as it can detect objects faster without compromising the accuracy. We have a trained model that can detect objects in COCO dataset. But, how can we train to detect other custom objects?. We will see that in this post.
So, let us build a tiny-yoloV3 model to detect licence plates.
Project Structure:
licence_plate_detection
├── custom_cfg
│ ├── darknet53.conv.74
│ ├── licence_plate.cfg
│ ├── licence_plate.data
│ ├── licence_plate.names
│ ├── test.txt
│ └── train.txt
├── custom_dataset
│ └── (training images and object boundings)
├──weights
│ └── (.weights files)
├── detect_licence_plate.py
└── process.py
steps:
- prepare your dataset
- prepare config files
- train your model using darknet
- detect objects
1. Prepare your dataset
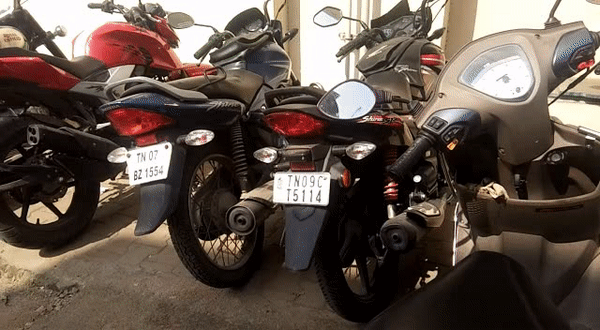
Your model is as good as the data you provide for training. You need to make sure you provide quality data. I have bulk downloaded google images of licence plates and stored in a folder, say ‘custom_dataset’. See how to bulk download (here).
Install LabelImg, graphical image annotation tool and label object bounding boxes in images. Once installed, clear contents in ‘LabelImg/data/predefined_classes.txt’.
Run labelImg and open the folder ‘custom_dataset’. Select the output as yolo and draw the bounding box over the object(Licence Plate). Set it as ‘licence_plate’ and save.

You can see a .txt file with the same name as your image is created in the same directory.
0 0.687109 0.379167 0.255469 0.158333
This is yolo format for storing bounding boxes. Do this for every image. I have done for about 200 images.
2. Prepare Config files
We will use Darknet neural network framework to train our model. darknet requires the following files.
1. train.txt
2. test.txt
3. .cfg file
4. .names file
5. .data file
6. darknet53.conv.74 (download here)
train.txt, test.txt:
We need to split our dataset for training and testing. Run process.py to split into two files. Place process.py in the same project directory and run.
.cfg file:
Copy yoloV3-tiny cfg from here. And make the following changes
1. change line no: 3 to ‘batch=24’, this means we will be using 24 images for every training step
2. change line no: 4 to ‘subdivisions=8’, the batch will be divided by 8 to decrease GPU requirements.
3. change in line no: 135,177 to ‘classes=1’ (this value denotes the number of object classes we have. In our case its only licence_plate)
4. change line no: 127,171 to filters=(classes+5)*3 in our case ‘filter=18’
.names file:
Create a .names file with a list of all class names that we want to train. In our case its only licence_plate
licence_plate
.data file:
classes=1
train=custom_cfg/train.txt
valid=custom_cfg/test.txt
names=custom_cfg/licence_plate.names
backup=backup/
Weights will be saved in the backup folder for every 100 iterations until 900, then saves for every 10,000.
3. Train your model using darknet
Now that we have our dataset and config files ready, we can now train the model using darknet in Google Colab. Check out my other tutorial on how to train your Tiny-YoloV3 model in Google Colab.
Once you got the .weights file you can proceed further
4. Detect objects
Copy detect_licence_plate.py. Load weights and cfg appropriately and run the following respective command
python3 detect_licence_plate.py --image test.jpg
python3 detect_licence_plate.py --video test.mp4
python3 detect_licence_plate.py (for the webcam)
Happy detecting!!
How can i add an OCR in plate detected?